Recipe
Servings
Servings 1×
Ingredients
- Rolled oats
- Greek yogurt
- Apple
- Fresh ginger
- Lemon
- Cheddar
- Butter
- Cooking oil
Method
- Prepare the ingredients described in the article and heat the cooking surface or oven as directed.
- Cook the main ingredients using the heat and timing guidance in the article.
- Finish with the seasonings and garnishes named in the article, then serve.
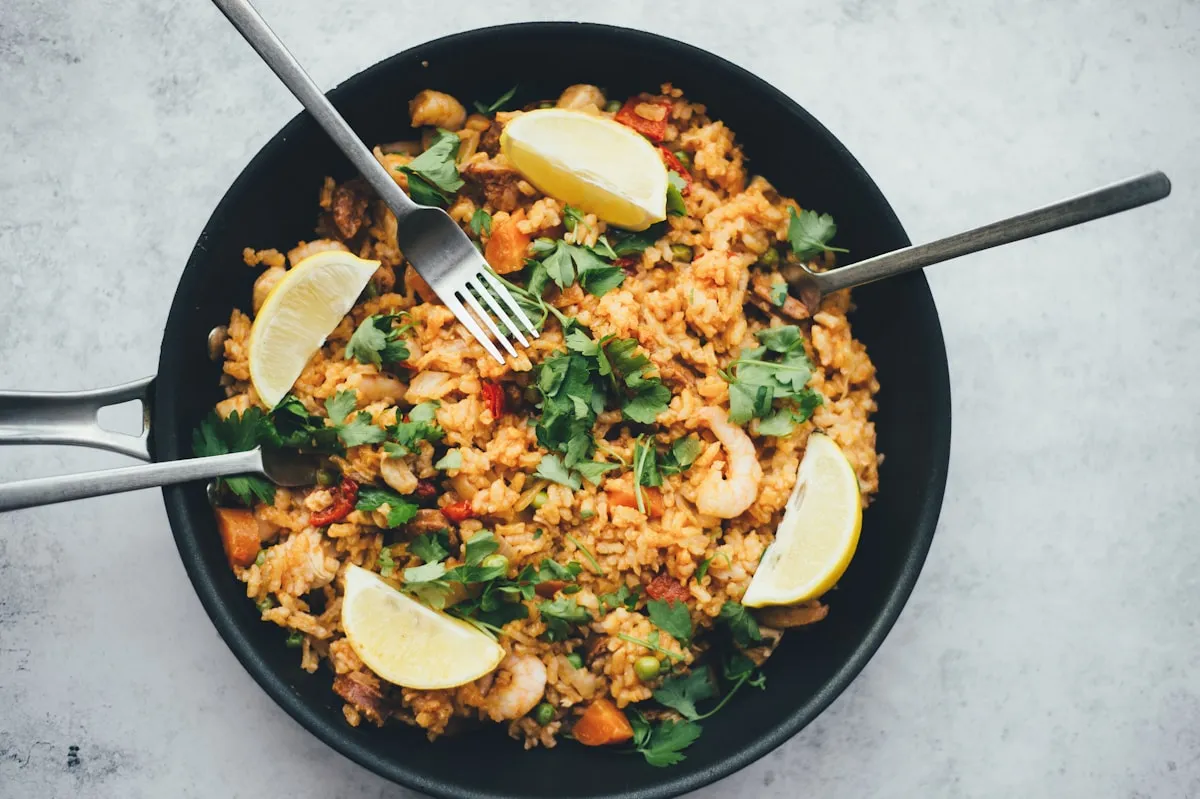
There is something fundamentally soul-soothing about the scent of cinnamon wafting through a kitchen early in the morning. If you are tired of the same old bowl of soggy oats, let me introduce you to the ultimate simple, healthy breakfast: Easy Baked Apples. It’s warm, it’s comforting, and it tastes like you’re eating dessert for your first meal of the day. Best of all, it requires almost zero effort from you while you’re still trying to find your caffeine-deprived groove.
The Science of the Perfect Soft-but-Firm Snap
When you bake an apple, you are essentially performing a delicate architectural dance. The goal is to break down the cellular structure enough to make the fruit tender, without turning your breakfast into a puddle of unsweetened applesauce. This comes down to two things: apple selection and heat management.
Choose your fruit wisely. Use firm-fleshed varieties like Honeycrisp, Braeburn, or the classic Granny Smith. While some kitchen myths suggest sweet apples hold their shape better, the real secret is the pectin content. Pectin is the "glue" that keeps plant cells together. As the apple heats up, that pectin begins to dissolve. If you use a soft apple like a Red Delicious, the "glue" fails almost immediately, leaving you with a grainy mess. Stick to apples with a higher density and a bit of a tart bite to ensure they can stand up to the oven's heat.
Avoid over-coring. When you remove the center of the apple to make room for that glorious maple syrup and cinnamon mixture, do not cut all the way through to the bottom. Treat the apple like a natural bowl. By leaving the base intact, you create a reservoir for the juices and syrup to pool and caramelize. This "syrup bath" effectively poaches the apple from the inside out, keeping the interior moist while the skin roasts.
Temperature is your next non-negotiable. Don't blast the fruit with high heat. Aim for a steady 375°F (190°C). This temperature is high enough to trigger the Maillard reaction, where the sugars in the maple syrup and the natural sugars in the apple juice begin to brown and develop complex, toasted notes, but low enough that the fruit doesn't explode. Check for doneness with a sharp knife; it should slide in with the same resistance as room-temperature butter.
Playing with Flavor Profiles
Once you’ve mastered the base, you can start tweaking the balance. The beauty of this simple, healthy breakfast is that it’s a blank canvas for acidity and richness. If your apples are particularly sweet, lean into the acidity. Add a squeeze of lemon juice or a few dried cranberries to the center. The sharp acid will cut through the sugar, making the flavor profile more dynamic.
For those mornings when you need a bit more staying power, focus on richness. Tuck a small piece of grass-fed butter or a teaspoon of coconut oil into the core before baking. The fat will emulsify with the maple syrup, creating a velvety sauce that clings to every bite. Don't be afraid to experiment with your spice cabinet, either. While cinnamon is the gold standard, a pinch of cardamom or ground ginger can transform the dish into something reminiscent of a high-end bakery treat. These small shifts make these apples a staple in our rotation of quick family meals because everyone can customize their own fruit "bowl."
Perfect Side Dish Pairings
While a baked apple is a star in its own right, the right pairing can elevate it from a simple snack to a balanced meal. The goal here is contrast.
- Creamy Proteins: Serve your warm apple over a generous dollop of cold, plain Greek yogurt or skyr. The temperature contrast is delightful, and the tang of the yogurt perfectly balances the sweet maple glaze.
- Texture Enhancers: Sprinkle a handful of toasted walnuts or a low-sugar granola over the top after baking. The crunch is essential to prevent the meal from feeling too "one-note" in terms of texture.
- The Savory Twist: If you’re serving these as a light ending to one of your healthy dinner ideas, try a thin slice of sharp aged cheddar on the side. It sounds wild to the uninitiated, but the salty-sharp cheese and sweet-cinnamon apple is a classic combination for a reason.
FAQ: Solving Your Baking Blunders
Can I use an air fryer instead of a traditional oven?
Absolutely. If you are already a fan of air fryer recipes dinner, you’ll love this. Set your air fryer to 350°F and cook for about 15-20 minutes. It’s faster and keeps the kitchen cooler, making it a perfect addition to your list of quick family meals. Just make sure the apples don't touch the heating element.
My apples always collapse. What am I doing wrong?
You likely over-baked them or used a "mealy" variety like a McIntosh or Red Delicious. Check your apples five minutes before the timer goes off. Every oven (and apple) is different. Use the knife test! Also, ensure you aren't peeling them; the skin acts as a structural "exoskeleton" that holds everything together.
Can I make these ahead of time?
Yes, though they are best fresh. You can bake a batch on Sunday, store them in the fridge, and reheat them gently in the microwave or oven. They might lose a bit of their structural integrity, but the flavor only deepens as the spices meld.
What if I don't have maple syrup?
Honey or agave works as a 1:1 substitute. However, maple syrup has a higher mineral content and a more complex, woody flavor that pairs exceptionally well with cinnamon. Avoid using granulated white sugar alone, as it won't create that essential syrup "bath" inside the apple unless you add a splash of water or juice.
How do I prevent the apples from browning before they go in the oven?
If you are prepping a large batch for a crowd, toss the cored apples in a bowl of water with a squeeze of lemon juice. This inhibits the enzymatic browning that happens when the flesh is exposed to oxygen. Pat them dry before adding your fillings so they roast rather than steam.
By focusing on the right variety and respecting the science of the core, you’ll turn a humble piece of fruit into a gourmet experience. Whether you’re looking for a simple, healthy breakfast or a clean finish to your healthy dinner ideas, these baked apples are the answer. Now, go preheat that oven and get baking!