Recipe
Servings
Servings 1×
Ingredients
- Chicken
- Ground turkey
- Tofu
- Chickpeas
- Black beans
- Beans
- Spinach
- Kale
- Greens
- Corn
- Avocado
- Lime
- Cheddar
- Butter
Method
- Prepare the ingredients described in the article and heat the cooking surface or oven as directed.
- Cook the main ingredients using the heat and timing guidance in the article.
- Finish with the seasonings and garnishes named in the article, then serve.
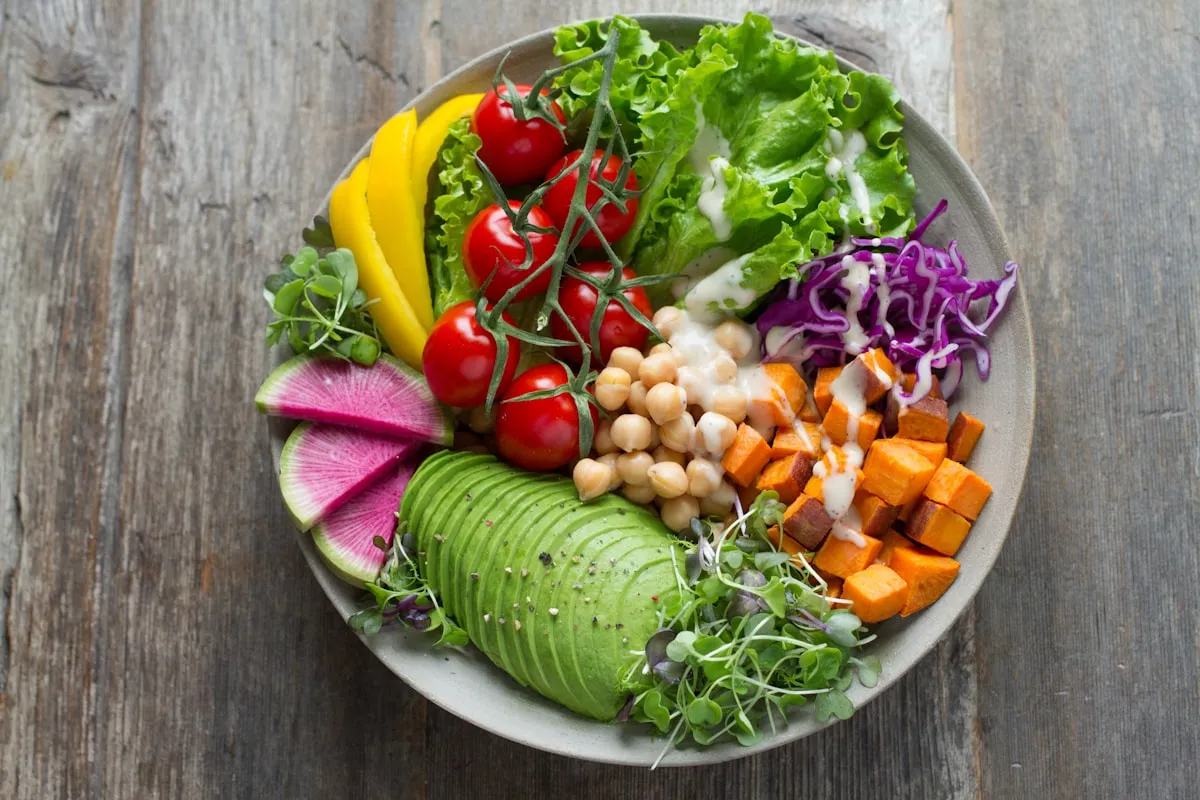
Nothing ruins a summer picnic faster than a soggy salad. You’ve spent all morning prepping, but by the time you reach your favorite spot in the park, your lettuce has wilted into a sad, damp mess. That’s where the magic of the mason jar comes in. This isn’t just a trendy aesthetic choice; it’s a brilliant engineering solution for the modern home cook. By using a vertical stack, we can keep the wet ingredients away from the delicate leaves, ensuring every bite is as fresh as if you’d just tossed it.
The Gravity Method: Why Layering Matters
The secret to a perfect portable meal lies in understanding moisture migration. Think of your mason jar as a multi-story building where the basement is the wettest area and the penthouse is the driest. To master this, you must treat the dressing as your foundation. Pour it in first. This ensures the sauce stays at the bottom, safely isolated from your greens. If you’re looking for quick family meals that you can prep ahead for a week of outings, mastering this layering technique is your primary goal.
Follow the rule of density. Immediately on top of the dressing, place your "hard" vegetables: the ones that actually benefit from a little marinating. Think black beans, corn, and diced bell peppers. These act as a waterproof barrier. They won't get mushy; instead, they’ll soak up some of that lime-infused flavor while protecting the rest of the jar.
Use your protein as the next structural layer. Whether you choose seasoned ground beef, turkey, or shredded chicken, ensure it is completely cool before adding it to the jar. Heat is the enemy of the crisp salad. If you put warm meat in a sealed jar, you’ll create steam, and steam is just another word for "soggy lettuce." Pack this layer firmly to eliminate air pockets. This compaction is what keeps the ingredients from shifting during transport.
Finally, top the whole thing with your greens. I prefer chopped romaine or even a sturdy kale mix because they have more structural integrity than butter lettuce or spinach. Pack the greens all the way to the brim. By filling the jar completely, you reduce the amount of oxygen trapped inside, which slows down the oxidation process and keeps the leaves vibrant. This is a non-negotiable step if you want that satisfying crunch two hours into your hike.
Customizing Your Crunch: Flavor Variations
One of the best things about this format is how easily it adapts to different healthy dinner ideas. If you’re leaning into a plant-based lifestyle, swap the meat for a double dose of spiced chickpeas or a firm, seasoned tofu. The technique remains identical: the beans or tofu sit in the "barrier" zone, keeping the dressing contained.
For those watching their carbs, a keto-friendly version is a breeze. Eliminate the beans and corn and replace them with extra diced avocado (tossed in lime juice to prevent browning) and a heavy hand of shredded sharp cheddar. You can even use the leftover components from our classic chicken fajitas to add a smoky, charred flavor profile to your jar.
If you crave heat, incorporate pickled jalapeños or a dash of chipotle powder into your protein layer. The jar acts like a mini-marinator, allowing those spices to mellow and meld with the beans and peppers. Just remember: the more "wet" an ingredient is (like a chunky salsa), the lower it needs to be in the stack. If you prefer a very liquid salsa, treat it as part of the dressing layer at the very bottom.
Side Dish Pairings for the Perfect Picnic
While the mason jar salad is a complete meal in itself, the right pairings can elevate your picnic from a "lunch outside" to a genuine event. You need something to balance the richness of the taco seasoning and the creaminess of the cheese.
Avoid bringing heavy, mayo-based sides. Instead, focus on acidity and crunch. A simple bag of high-quality corn tortilla chips is essential, but don't put them in the jar. Keep them in a separate, airtight container or bag until the moment you're ready to eat. They provide the necessary texture and act as an edible spoon.
Consider bringing a thermos of ice-cold lime water or a light, citrus-forward tea to cut through the spice. If you want something a bit more substantial, a slice of golden skillet cornbread travels surprisingly well and provides a sweet, buttery contrast to the savory taco flavors. The goal is balance; you want the side to support the salad, not compete with it for dominance.
Frequently Asked Questions
Why is my lettuce still getting soggy?
Check your layering order. Usually, this happens because a "wet" ingredient like a tomato or a very juicy salsa was placed too close to the greens. Tomatoes should be halved and placed in the middle, away from the lettuce. Also, ensure your greens are bone-dry before they go in. If you wash your lettuce and don't spin it dry, that residual water will wilt the leaves from the inside out.
Can I use my air fryer to prep the meat?
Absolutely. In fact, using the air fryer is a secret weapon for air fryer recipes dinner prep because it renders the fat out of the beef or turkey efficiently, leaving you with seasoned crumbles that aren't greasy. A greasy protein will make the rest of the jar feel heavy and unappealing once it cools. Just like our air fryer sausage and pepper medley, the air fryer provides a great texture without much hands-on time.
How do I actually eat this thing?
You have two choices. If you left enough headspace at the top (about an inch), you can give the jar a violent, thorough shake to distribute the dressing, then eat it straight out of the jar. However, for the best experience, I recommend bringing a large bowl. Invert the jar into the bowl. The greens will hit the bottom first, followed by the proteins and veggies, and finally, the dressing will pour over the top. It’s a perfect, instant toss.
How long do these stay fresh?
When packed correctly and kept in a cold cooler, these jars can stay fresh for up to 4 days. This makes them a fantastic option for meal prepping at the start of a busy week. Just remember that if you add avocado or soft-boiled eggs, those should be added on the day you plan to eat to ensure the best quality. Always keep the jars upright; if they tip over in your bag, the dressing will migrate and ruin the "barrier" system you worked so hard to build.
{“@type”:”BlogPosting”,”image”:”https://cdn.marblism.com/Rth-RMvyUeZ.webp”,”author”:{“name”:”Penny”,”@type”:”Person”},”@context”:”https://schema.org”,”headline”:”Mason Jar Taco Salads”,”keywords”:”air fryer recipes dinner, quick family meals, healthy dinner ideas, mason jar salad, picnic recipes, taco salad”,”publisher”:{“logo”:{“url”:”https://cookpedia.com/logo.png”,”@type”:”ImageObject”},”name”:”Cookpedia”,”@type”:”Organization”},”description”:”Learn the science of layering the perfect mason jar taco salad for your next summer picnic. Keep your greens crisp and your flavors bold with these portable meal prep tips.”,”datePublished”:”2026-05-19″,”articleSection”:”Picnic Series”,”mainEntityOfPage”:{“@id”:”https://cookpedia.com/mason-jar-taco-salads”,”@type”:”WebPage”}}