Recipe
Servings
Servings 1×
Ingredients
- Black beans
- Beans
- Tortillas
- Greens
- Corn
- Apple
- Onion
- Lime
- Honey
- Feta
- Cooking oil
- Chili seasoning
Method
- Use a splash of salsa or vegetable stock to deglaze the pan and pick up every charred bit of spice.
- Keep the beans moving in the pan to ensure they don't burn, but let them sit for a few seconds longer than you think to develop those golden-brown "flavor crusts." This is how you elevate simple pantry staples into a meal that feels intentional rather than desperate.
- Use a gas flame if you have one, or a screaming-hot dry skillet if you don't.
- Use metal tongs to flip them quickly.
We’ve all been there. You walk through the front door, the sun is setting, and the only thing louder than your grumbling stomach is the internal scream of "I don't want to cook." This is exactly why my kitchen runs on a tight schedule. You don't need an hour to create something soulful; you just need fifteen minutes and a humble can of beans. These black bean tacos are the ultimate speed-demon dinner that proves fast food doesn't have to come in a greasy paper bag.
The Science of the Smash and Bloom
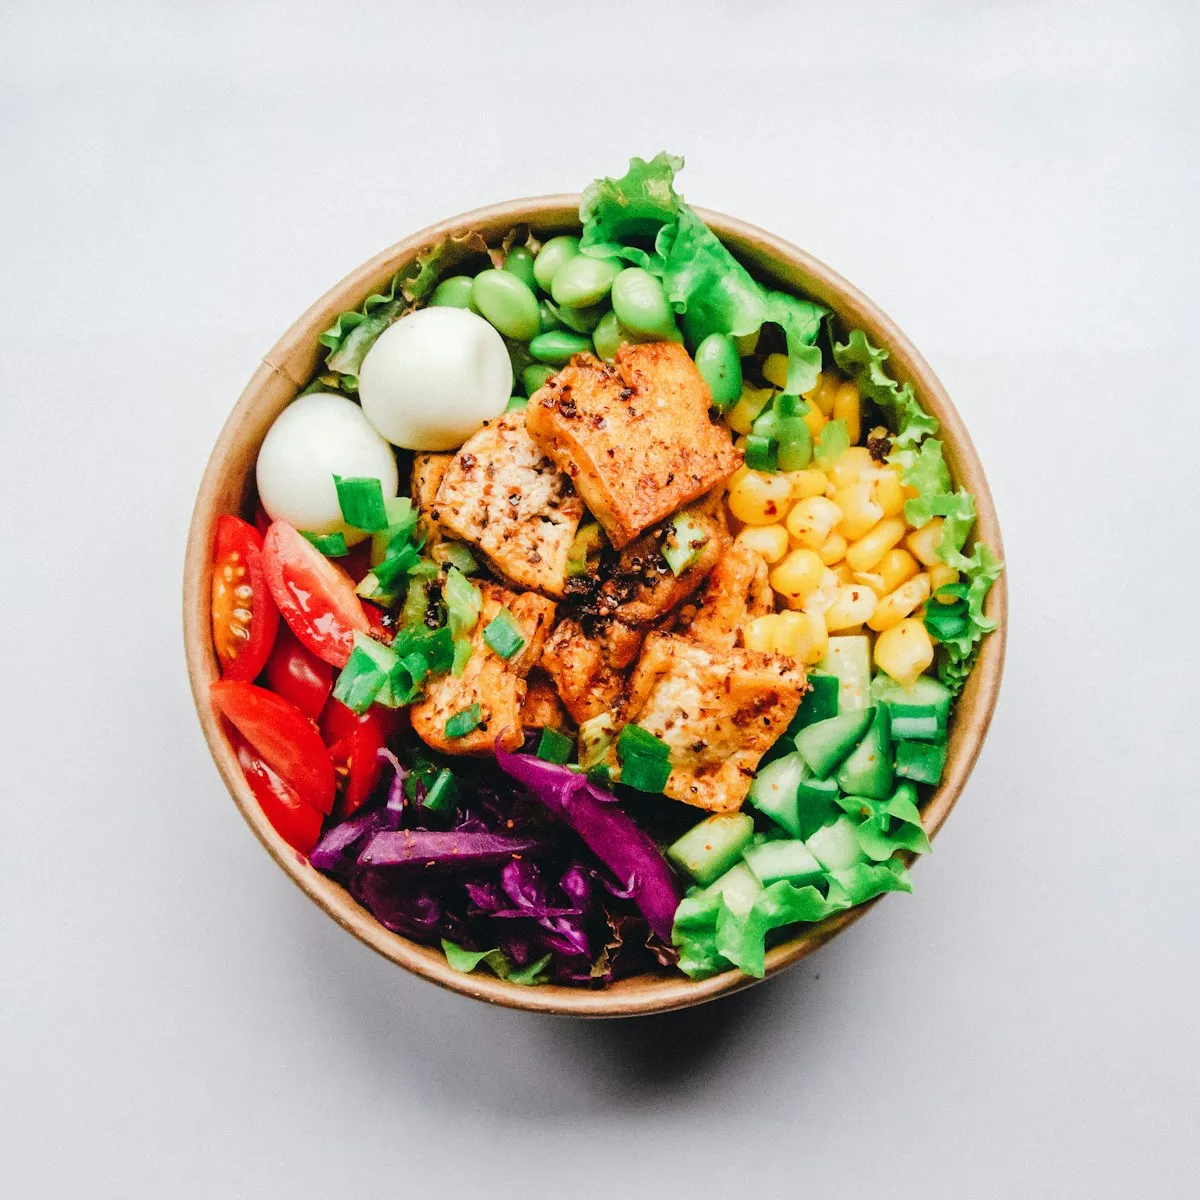
To master 15 minute meals, you have to understand how to manipulate texture without spending half a day at the stove. When you crack open a can of black beans, you’re looking at a powerhouse of starch. Don’t just heat them through; use a heavy spoon to lightly mash about half of the beans directly in the skillet. This releases the internal starches, which act as a natural, creamy "glue." This isn't just for mouthfeel: it’s functional. A mashed filling stays inside the tortilla instead of tumbling onto your lap like a loose pile of pebbles.
Stop treating your spices like an afterthought. Bloom them. The moment your pan is hot, toss your spices into the oil before the beans even hit the heat. Most of the flavor compounds in cumin, chili powder, and smoked paprika are fat-soluble. By toasting them for thirty seconds, you unlock a depth of flavor that usually takes hours of simmering to achieve. If you skip this, your tacos will taste "dusty" rather than robust. Use a splash of salsa or vegetable stock to deglaze the pan and pick up every charred bit of spice.
Watch the moisture levels like a hawk. You want the filling to be "spoonable," not "pourable." If your bean mixture is too wet, it will migrate into the tortilla fibers, turning your dinner into a soggy mess. If it’s too dry, it will feel chalky. Aim for a consistency similar to chunky refried beans. The heat should be high enough to evaporate excess liquid quickly, concentrating the flavors into a thick, savory paste that grips the tortilla.
Never underestimate the power of the Maillard reaction, even in a vegetable-heavy dish. That slight browning on the edges of the beans adds umami that mimics the savoriness of meat. Keep the beans moving in the pan to ensure they don't burn, but let them sit for a few seconds longer than you think to develop those golden-brown "flavor crusts." This is how you elevate simple pantry staples into a meal that feels intentional rather than desperate.
Charring: The Non-Negotiable Tortilla Rule
If you take your tortillas straight from the bag to the plate, we need to have a serious talk. Cold tortillas are brittle, tasteless, and frankly, a tragedy. To achieve quick healthy meals that actually taste like they came from a street cart, you must apply direct heat. Use a gas flame if you have one, or a screaming-hot dry skillet if you don't. Char each side for about twenty seconds until you see those signature black spots.
This charring process does more than just add a smoky aroma. It fundamentally changes the structure of the corn. The heat makes the starches more pliable, ensuring your taco won't crack the moment you try to fold it. Use metal tongs to flip them quickly. Avoid over-charring, as the tortilla will become stiff and cracker-like. Store the finished tortillas in a clean, damp kitchen towel as you work to keep them soft and steamy. This "resting" period is crucial for a flexible, professional-grade taco.
Bold Variations for the Adventurous Soul
The beauty of a black bean base is its neutrality; it’s a blank canvas for your creative whims. If you want to lean into the acidity, go heavy on pickled red onions and a lime-heavy crema. The sharp tang of the vinegar cuts through the earthy richness of the beans, creating a balanced bite. For those who crave heat, don't just reach for the hot sauce. Try folding in chopped chipotles in adobo sauce during the mashing phase. The smokiness complements the beans perfectly without overwhelming the palate.
If you’re looking for a texture contrast, skip the cotija and go for a crunchy slaw. Cabbage tossed in a bit of apple cider vinegar and honey provides a "snap" that the soft beans lack. For a Mediterranean twist: and yes, it works: swap the cilantro for fresh oregano and top with feta and cucumbers. The salty punch of feta mimics cotija but with a creamier finish. You can even check out my guide on glossy sauces if you want to experiment with a silkier bean finish.
Side Dish Pairings for a Balanced Plate
Balance is the secret sauce of home cooking. Since the beans are dense and earthy, your side dishes should be light, bright, and vibrant. A cilantro-lime rice is the classic choice, but if you want to keep the "quick" in quick healthy meals, a simple corn salad is your best friend. Toss canned corn with lime juice, chili flakes, and a bit of red onion. The sweetness of the corn provides a necessary counterpoint to the savory beans.
Avoid heavy sides like potato salad or thick chowders. You want something that cleanses the palate. A simple arugula salad with a lemon vinaigrette works wonders. The peppery bite of the arugula stands up to the spices in the tacos without competing for attention. If you’re using your air fryer for other components of the meal, consider some roasted peppers or even some kielbasa bits for a smoky side. The goal is to fill the plate with colors and textures that make the main event shine.
Frequently Asked Questions
What if my bean filling is too runny?
Don't panic. If you accidentally added too much liquid, crank up the heat to high and stir constantly. You’re looking to evaporate the water while the beans continue to release starch. If it’s still too thin after two minutes, mash more beans. The released starch acts as a thickener. Avoid adding flour or cornstarch, as these can make the filling gummy and mask the natural bean flavor.
Can I use dried beans instead of canned?
You can, but you won't be finishing in fifteen minutes. Dried beans require soaking and hours of simmering. For this specific "fast-track" dinner, canned beans are actually superior because they come pre-softened and sit in a starchy liquid that helps create that creamy texture we're after. Just make sure to rinse them thoroughly to control the sodium levels, then add back your own flavorful liquid like stock or salsa.
How do I stop my tortillas from breaking?
This usually happens because the tortillas are too dry or too cold. Always warm them. If they are still breaking after charring, your tortillas might be old. Corn tortillas lose moisture over time. Try the "steam-char" method: wrap them in a damp paper towel and microwave for 30 seconds, then hit them with the dry skillet for color. This ensures they are both hydrated and toasted.
Is this recipe keto-friendly?
Standard black beans are high in carbohydrates, so they aren't typically keto. However, you can use the same spice-blooming and mashing techniques with lower-carb alternatives like black soybeans. Also, swap the corn tortillas for lettuce wraps or low-carb almond flour tortillas to keep the macros in check while maintaining that soulful flavor profile.
How long does the filling stay fresh?
The mashed bean mixture is a meal-prep dream. It will stay fresh in an airtight container in the fridge for up to four days. In fact, the flavors often deepen after a night in the refrigerator. When reheating, add a teaspoon of water or lime juice to loosen the starches back up, as they tend to firm up when cold.
Can I freeze the leftover taco filling?
Yes! Black bean filling freezes exceptionally well. Store it in a freezer-safe bag, pressed flat to save space. It will last for up to three months. To use, thaw it in the fridge overnight and reheat in a skillet. It’s the ultimate "emergency meal" for those nights when even fifteen minutes feels like too much work.
{“@type”:”BlogPosting”,”image”:[“https://cdn.marblism.com/YO1P3CnhLwZ.webp”,”https://cdn.marblism.com/TCoECashwcB.webp”,”https://cdn.marblism.com/NZQQV-LhZQG.webp”,”https://cdn.marblism.com/Z08ThbeFkPq.webp”],”author”:{“name”:”Penny”,”@type”:”Person”},”faqPage”:{“@type”:”FAQPage”,”@context”:”https://schema.org”,”mainEntity”:[{“name”:”What if my bean filling is too runny?”,”@type”:”Question”,”acceptedAnswer”:{“text”:”Crank up the heat to high and stir constantly to evaporate water. Mash more beans if needed to release additional starch as a natural thickener.”,”@type”:”Answer”}},{“name”:”Can I use dried beans instead of canned?”,”@type”:”Question”,”acceptedAnswer”:{“text”:”For a 15-minute meal, canned is best. Dried beans require hours of soaking and cooking.”,”@type”:”Answer”}},{“name”:”How do I stop my tortillas from breaking?”,”@type”:”Question”,”acceptedAnswer”:{“text”:”Always heat your tortillas. Use a damp paper towel in the microwave followed by a dry skillet to ensure they are hydrated and pliable.”,”@type”:”Answer”}}]},”@context”:”https://schema.org”,”headline”:”15-Minute Black Bean Tacos”,”publisher”:{“logo”:{“url”:”https://cookpedia.com/logo.png”,”@type”:”ImageObject”},”name”:”Cookpedia”,”@type”:”Organization”},”description”:”Learn the science of the 15-minute black bean taco. Discover why mashing beans and blooming spices are the secrets to quick, healthy weeknight meals.”,”datePublished”:”2026-05-22″,”mainEntityOfPage”:{“@id”:”https://cookpedia.com/15-minute-black-bean-tacos”,”@type”:”WebPage”}}