Recipe
Servings
Servings 1×
Ingredients
- Steak
- Pasta
- Cauliflower
- Asparagus
- Avocado
- Tomatoes
- Garlic
- Fresh ginger
- Lemon
- Lime
- Butter
- Cooking oil
- Soy sauce or tamari
- Sesame
- Chili seasoning
- Salt
Method
- Use paper towels and press firmly until no moisture remains on the surface.
- Heat your pan until it is nearly smoking before adding a high-smoke-point oil like avocado or grapeseed oil.
- Use your eyes and your touch.
If you think a luxury dinner requires hours over a hot stove, I’m about to change your life. Scallops are the ultimate culinary "cheat code." They look expensive, taste like a coastal vacation, and: if you know what you’re doing: they take exactly four minutes to cook. This recipe is for those nights when you want to feel fancy but only have fifteen minutes before your favorite show starts. Whether you're adding this to your rotation of quick family meals or planning a solo date night, mastery starts with the sear.
The Science of the Perfect Sear
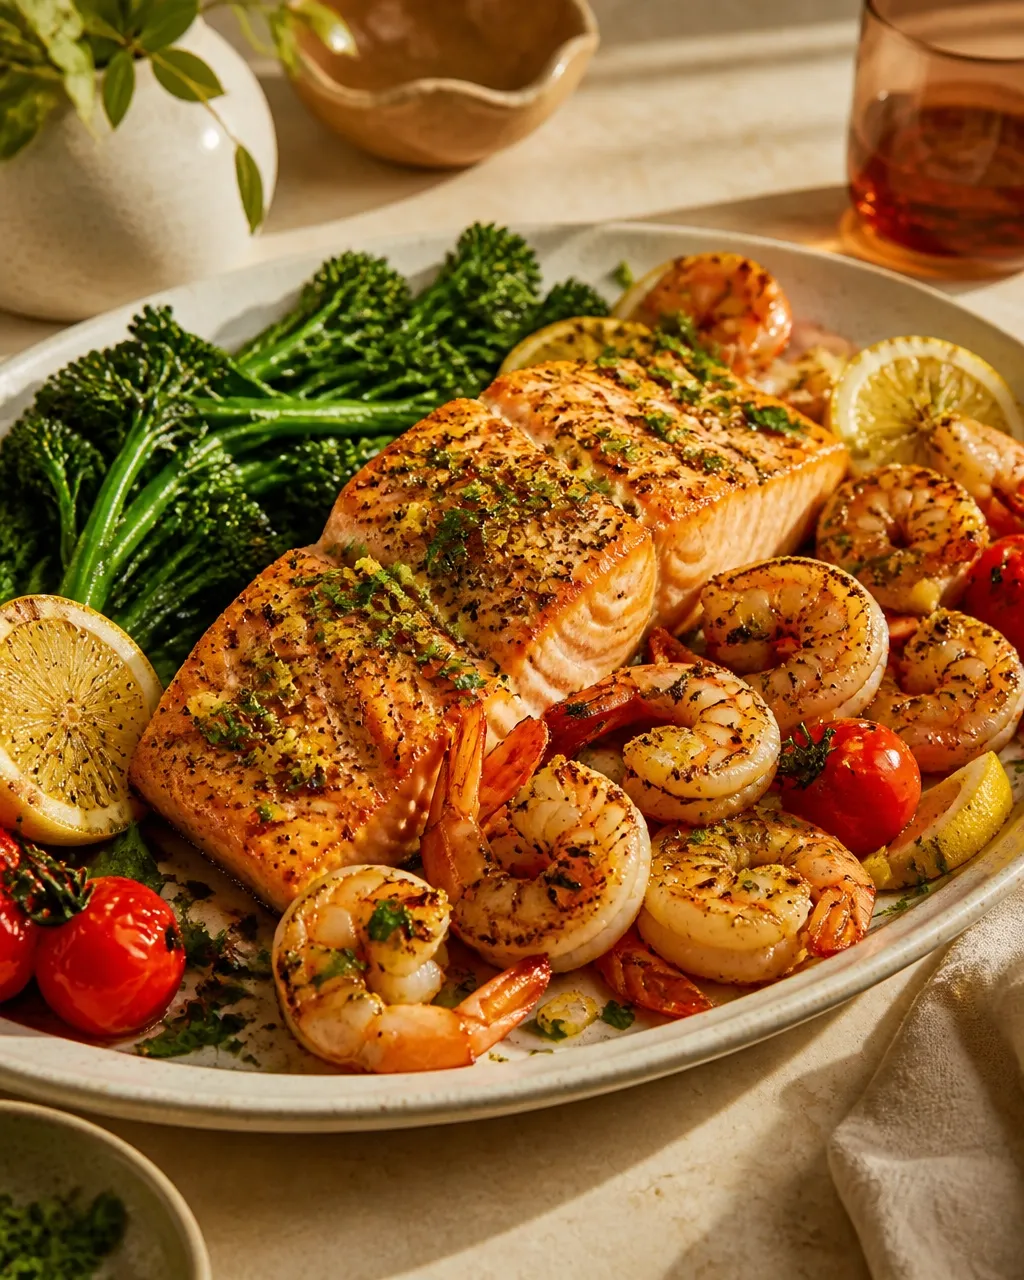
The difference between a world-class scallop and a rubbery, grey puck comes down to chemistry. Specifically, we are chasing the Maillard reaction. This is the magical chemical dance between amino acids and reducing sugars that creates that deep golden-brown crust and complex, savory flavor.
To achieve this, you must treat water as your mortal enemy. Scallops are naturally about 80% water. If the surface of the scallop is wet when it hits the pan, that moisture has to evaporate before browning can even begin. Instead of searing, your scallops will steam in their own juices. Avoid this tragedy by patting your scallops dry with obsessive detail. Use paper towels and press firmly until no moisture remains on the surface. If you have an extra ten minutes, let them sit uncovered in the fridge on a wire rack; the cold air will wick away any residual surface moisture, ensuring a crispier crust.
Next, focus on the pan. You need a high-heat-conductive surface like stainless steel or cast iron. Avoid non-stick pans here; they generally shouldn't be ripped to the temperatures required for a proper sear. Heat your pan until it is nearly smoking before adding a high-smoke-point oil like avocado or grapeseed oil. Butter is delicious, but it burns at the temperatures we need for the initial sear. Save the butter for the finish.
Once the scallops hit the pan, do not touch them. I mean it. Resistance is key. They need uninterrupted contact with the heat to form that crust. If you try to flip them and they feel "stuck," wait another thirty seconds. A perfectly seared scallop will naturally release from the pan once the crust has formed. Only then do you flip them and introduce the butter and garlic. This technique, called "basting," allows the butter to foam and brown (becoming beurre noisette) without burning, infusing the scallops with a nutty, aromatic richness right at the end of the cooking process.
Creative Variations for Every Palate
Once you’ve mastered the base technique, you can start playing with the flavor profile to suit your mood. Scallops are a blank canvas, making them one of my favorite healthy dinner ideas for experimenting with global pantry staples.
For a Mediterranean twist, swap the thyme for fresh oregano and finish the pan with a handful of capers and a splash of dry white wine. The acidity of the capers cuts through the richness of the butter beautifully. If you’re craving heat, add a teaspoon of red chili flakes to the butter as it foams. The heat will infuse into the fat and coat the scallops in a spicy, golden sheen.
For an Asian-inspired profile, replace the butter with a mix of sesame oil and ghee. Baste the scallops with grated ginger and a splash of soy sauce instead of garlic. This variation works particularly well if you're serving the scallops over a bed of wilted bok choy. If you are looking for more quick family meals, you can even try a citrus-heavy version by using lime zest and cilantro for a bright, zesty finish that feels incredibly light.
Perfect Side Dish Pairings
Because scallops are so rich and buttery, you want sides that provide either a contrasting acidity or a neutral base to soak up that liquid gold garlic sauce.
A simple, vibrant arugula salad with a lemon vinaigrette is my go-to. The peppery bite of the greens and the sharp citrus acid reset your palate after every buttery bite. If you want something more substantial, a Spicy Tomato Basil One-Pot Linguine is a fantastic companion. The acidity of the tomatoes balances the scallops, and the pasta acts as the perfect vessel for any leftover garlic butter.
For those keeping things low-carb, consider a silky cauliflower purée or roasted asparagus. If you’re using other kitchen tools to save time, you might even look into air fryer recipes dinner options like crispy Brussels sprouts or roasted radishes. The crunch of an air-fried vegetable provides a textural counterpoint to the tender, melt-in-your-mouth quality of a properly cooked scallop.
Scallop Success: Your Questions Answered
What if my scallops are "wet-packed"?
"Wet-packed" scallops are treated with sodium tripolyphosphate (STP) to preserve them and help them retain weight. They are notoriously hard to sear because they "leak" water as soon as they hit the heat. If you can only find wet-packed, brine them in a mix of 1 quart of water, 2 tablespoons of salt, and 1 tablespoon of lemon juice for 30 minutes. This helps pull out some of the chemical taste and firms up the protein, making a decent sear possible: just remember to pat them bone-dry afterward.
Why did my scallops turn out rubbery?
You overcooked them. Scallops are almost pure muscle protein with zero collagen. Once they hit an internal temperature above 130°F, those proteins contract and squeeze out all the moisture, leaving you with a pencil eraser texture. Pull them off the heat when they reach 120–125°F internal. They will continue to cook slightly (carryover cooking) while they rest on the plate.
Can I use frozen scallops?
Absolutely, but thaw them completely in the refrigerator overnight. Do not thaw them in warm water, or you'll start the protein denaturation process before they even hit the pan. Once thawed, treat them exactly like fresh scallops: patting them dry is even more critical here as frozen seafood tends to release more moisture.
How do I know when they are actually done?
Use your eyes and your touch. The sides of the scallop should change from translucent to opaque. If you gently press the top of a scallop, it should have a slight "spring" to it, similar to the feel of your cheek. If it feels soft like raw meat, it needs more time; if it feels firm like a well-done steak, it’s already gone too far.
What is that little tough bit on the side?
That is the "foot" or the abductor muscle. It’s edible but very tough. Always check your scallops before cooking and simply pinch and tear it off. It should come away easily. Throw these bits into a bag in your freezer to make a seafood stock later!
{“@type”:”BlogPosting”,”image”:”https://cdn.marblism.com/k_GskvJTVb5.webp”,”author”:{“name”:”Penny”,”@type”:”Person”},”@context”:”https://schema.org”,”headline”:”15-Minute Garlic Butter Scallops”,”publisher”:{“logo”:{“url”:”https://cookpedia.com/logo.png”,”@type”:”ImageObject”},”name”:”Cookpedia”,”@type”:”Organization”},”description”:”Master the art of the 15-minute garlic butter scallop. Learn the science of the Maillard reaction and how to achieve a restaurant-quality sear at home.”,”datePublished”:”2026-05-28″,”mainEntityOfPage”:{“@id”:”https://cookpedia.com/15-minute-garlic-butter-scallops”,”@type”:”WebPage”}}