Recipe
Servings
Servings 1×
Ingredients
- Shrimp
- Pasta
- Garlic
- Lemon
- Butter
- Cooking oil
Method
- Use a heavy-bottomed skillet: cast iron is the gold standard here: because its thermal mass prevents the temperature from crashing when you add the cold shrimp.
- Use a high-smoke-point oil or ghee for the initial sear.
- Sear them in a single layer, leave them alone for 90 seconds to let the crust form, flip them once, and pull them the moment they turn opaque.
You’ve had those nights where the clock is mocking you, and your hunger is reaching a level of "emergency." Most people reach for a box of cereal, but you’re better than that. You want something that hits like a five-star meal but takes less time than a commercial break. Enter the lemon garlic butter shrimp taco: the high-performance athlete of the culinary world. We are talking about a dish where science does the heavy lifting, transforming humble crustaceans into flavor-packed grenades in exactly 15 minutes.
The Thermodynamics of the Perfect Sear
If you want mediocre shrimp, just toss them in a lukewarm pan and hope for the best. If you want greatness, you need to respect the Maillard reaction. This is the chemical dance between amino acids and reducing sugars that creates that savory, nutty, brown crust we all crave. The enemy of this reaction? Moisture.
Before the shrimp even see the pan, you must pat them dry until they are practically parched. If there is surface water on those shrimp, the energy from your stove will go toward boiling that water (at a measly 212°F) instead of searing the protein (which requires temperatures north of 285°F). You’ll end up with "sad, steamed gray blobs" instead of "golden-brown flavor bombs."
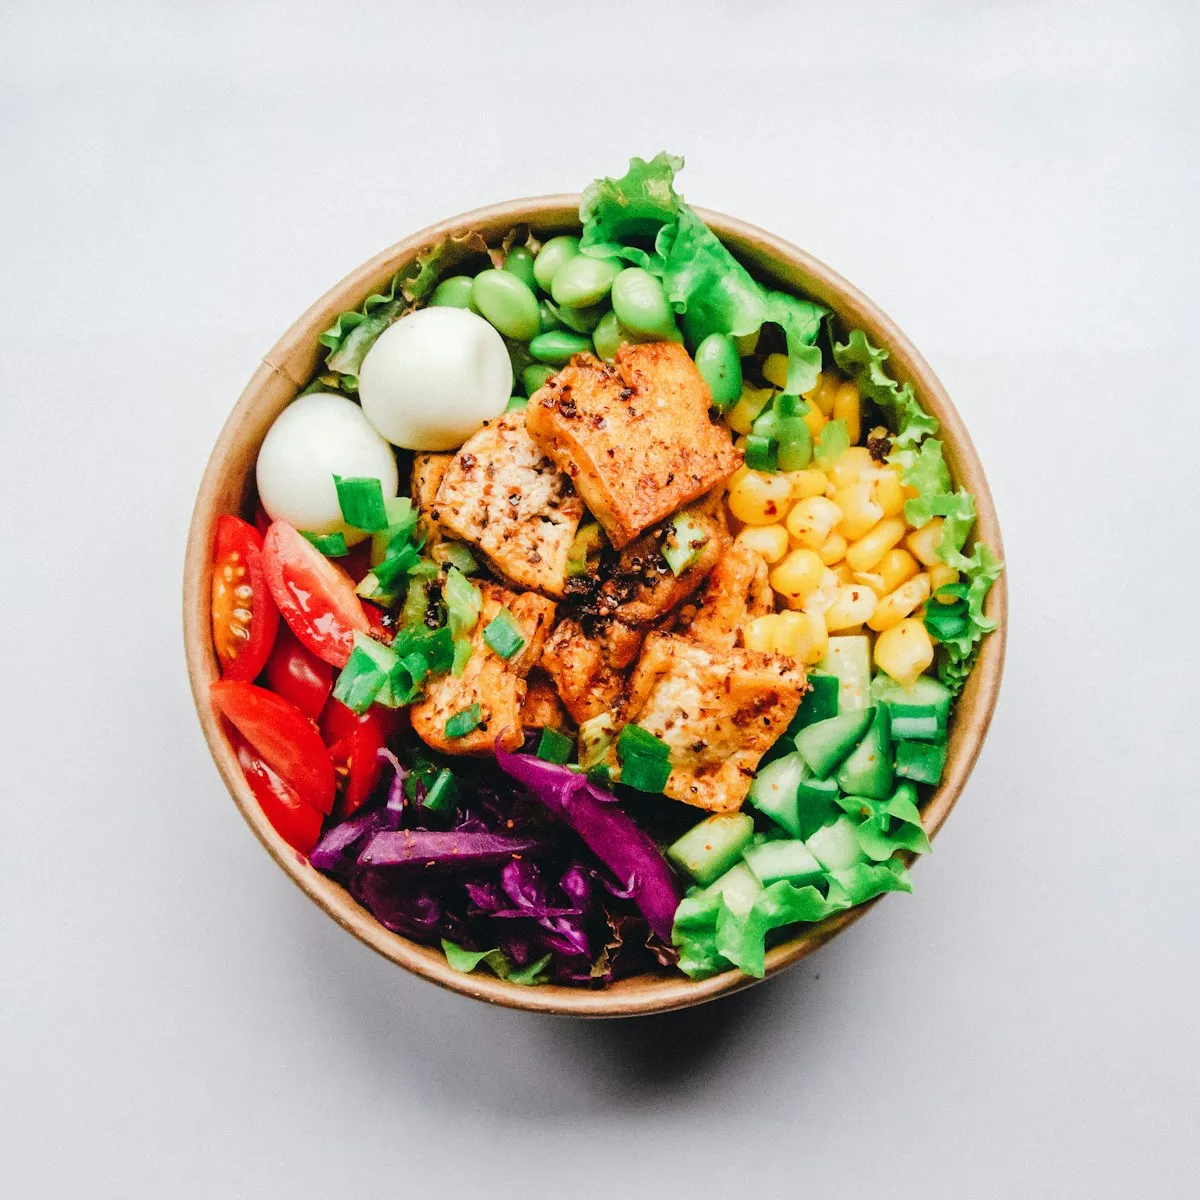
Once they are dry, heat management is your next variable. Use a heavy-bottomed skillet: cast iron is the gold standard here: because its thermal mass prevents the temperature from crashing when you add the cold shrimp. Use a high-smoke-point oil or ghee for the initial sear. Whole butter has milk solids that burn at 350°F, which is too low for the aggressive sear we need. We’ll save the whole butter for the emulsification phase later.
Protein denaturation is a fast-moving train. Shrimp proteins (mostly myofibrillar) start to tighten up at 120°F. By the time they hit 140°F, they’ve squeezed out their internal moisture and turned into rubber bands. Your window of perfection is narrow. Sear them in a single layer, leave them alone for 90 seconds to let the crust form, flip them once, and pull them the moment they turn opaque. Speed is your ally in keeping these quick family meals from becoming a chewy disaster.
Mastering the Emulsion
The magic of this dish isn't just the shrimp; it’s the glossy, clingy sauce that hugs them. This is achieved through a process called "monter au beurre," or mounting with butter. You aren't just melting fat; you are creating a temporary emulsion between the acidic lemon juice, the residual shrimp juices, and the milk fats in the butter.
After you pull the shrimp, the pan will have "fond": those brown, flavor-concentrated bits stuck to the bottom. Turn the heat down to low. Deglaze with your lemon juice, scraping up that fond to incorporate those Maillard compounds back into the liquid phase. Now, here is the technical part: whisk in cold cubes of butter one by one.
The temperature needs to stay below a boil. If it gets too hot, the emulsion breaks, and you’re left with a greasy puddle. By adding cold butter to a warm liquid, the milk proteins act as emulsifiers, suspending the fat in the lemon juice to create a velvet-like coating. If you’ve ever wondered why restaurant sauces look so much better than home versions, this is the secret. It’s similar to achieving the perfect glossy sauce in pasta: it's all about the bond between fat and liquid.
Variations for the Flavor Explorer
While lemon, garlic, and butter are the "holy trinity" of shrimp, you can optimize this formula for different flavor profiles. If you’re looking for healthy dinner ideas, try swapping half the butter for a high-quality extra virgin olive oil at the very end to keep the heart-healthy fats while maintaining that silkiness.
For a "Blackened" variant, coat the dry shrimp in a heavy layer of smoked paprika, cayenne, and dried thyme before searing. The sugars in the paprika will caramelize even faster, giving you a deep, dark crust that contrasts beautifully with the bright acidity of the lemon. If you want more "tech" in your heat, add a dash of fish sauce to your deglazing liquid. It sounds weird, but the glutamates in the fish sauce act as a massive flavor multiplier, deepening the savory profile of the shrimp without making them taste "fishy."
If you are a fan of using modern tech for your air fryer recipes dinner prep, you can actually toast your tortillas in the air fryer for 2 minutes to get that perfect "crispy-soft" hybrid texture. Just be sure to spray them lightly with oil first to facilitate even heat transfer.
Side Dish Pairings: Balancing the Richness
Butter is rich. Garlic is pungent. Shrimp is sweet. To make this a complete meal, you need sides that provide a "counter-weight" to that richness.
- Acidic Slaw: A simple cabbage slaw dressed in apple cider vinegar and lime juice provides the mechanical crunch and chemical acidity needed to cut through the butter fat.
- Charred Corn: If you have 5 extra minutes, char some corn kernels in the same pan you used for the shrimp. The residual garlic butter will coat the corn, and the charred bits provide a smoky depth.
- Radish and Cilantro: Never skip the fresh garnish. Radishes contain mustard oils (isothiocyanates) that provide a sharp, peppery bite, clearing your palate between each rich, buttery taco.
Troubleshooting Your Shrimp Tacos (FAQ)
Why is my sauce oily and separated instead of creamy?
You likely let the pan get too hot after adding the butter. Once the water in the butter boils off, the emulsion collapses. To fix a broken sauce, add a teaspoon of hot water and whisk vigorously off the heat to try and re-emulsify the fats.
Can I use frozen shrimp?
Absolutely, but with a caveat. Frozen shrimp are often treated with sodium tripolyphosphate to retain moisture. This can make them "weep" in the pan, ruining your sear. Look for "dry" frozen shrimp and ensure they are 100% thawed and dried before they hit the heat.
Why does my garlic taste bitter?
Garlic contains sulfur compounds that turn acrid when burnt. If you add minced garlic to a ripping hot pan at the start, it will burn before the shrimp are done. Always add your garlic toward the end of the searing process or into the butter-mounting phase to keep it sweet and aromatic.
Is it okay to use pre-peeled shrimp?
It’s efficient, but you lose out on the chance to make a "quick stock." If you have shells, you can sauté them in the butter first for 2 minutes, then discard the shells. This infuses the fat with astaxanthin: the pigment that gives shrimp their color: and a deep, crustacean flavor.
What pan should I avoid?
Avoid thin, non-stick pans for the searing phase. They don't hold enough heat to trigger the Maillard reaction effectively, and high heat can degrade the non-stick coating. Stick to stainless steel or cast iron for the heavy lifting. If you are doing a kielbasa and pierogi roast later, you'll see the same principle applies: mass equals better browning.
Can I make these ahead of time?
Shrimp is a "just-in-time" protein. Reheating shrimp often leads to overcooking and that dreaded rubbery texture. However, you can prep the slaw and the garlic-lemon mixture ahead of time so the actual cooking process remains a 15-minute sprint.