Recipe
Servings
Servings 1×
Ingredients
- Chicken
- Eggs
- Lemon
- Hard cheese
- Cooking oil
- Salt
Method
- Use a temperature in the 400–425°F range.
- Pat the chicken dry before coating it.
- Use a wire rack over a baking sheet when possible.
- Give each tender breathing room, too.
- Press the coating firmly onto the chicken.
- Use the USDA’s poultry safety guidance as your reference, especially when cooking for children, older adults, or anyone with a weakened immune system.
Some dinners ask for planning, patience, and three pans. These baked Parmesan-crusted chicken tenders ask for very little beyond a hot oven and a willingness to let breadcrumbs do their charming little job. They come out crisp at the edges, juicy in the center, and savory enough to make everyone forget they were expecting another boring chicken dinner.
This is one of my favorite easy dinner recipes because it delivers fried-chicken comfort without a pot of oil. More importantly, the technique is simple once you understand why it works.
Why the Crust Gets Crisp: Heat, Moisture, and Browning
The first non-negotiable is a properly heated oven. Use a temperature in the 400–425°F range. That strong burst of heat helps the outside brown before the chicken has time to dry out.
Here is what happens inside the oven: surface moisture begins evaporating, the crumb coating dries, and the Parmesan starts to brown. Once the surface is dry enough, the Maillard reaction gets moving. This is the collection of chemical reactions between proteins and sugars that creates the toasted color and deeply savory flavor you want.
Do not confuse this with simple caramelization. Caramelization is what happens when sugars brown. The Maillard reaction is more useful here because it creates those roasted, nutty, meaty flavors from the proteins and sugars in the chicken, Parmesan, and crumb coating. Dinner gets chemistry, and chemistry gets dinner.
Pat the chicken dry before coating it. A wet surface creates steam, and steam is the enemy of crunch. If the chicken goes into the oven damp, the heat must first evaporate that water. Until it does, the crust will soften instead of crisping. Dry chicken gives the coating a head start.
Use a wire rack over a baking sheet when possible. Air can circulate around more of the chicken, including the underside, instead of leaving one side pressed against a hot, steamy pan. Give each tender breathing room, too. Crowding traps moisture and turns a crisp coating into a limp one. Nobody wants a sad breadcrumb blanket.
A light coating of oil also matters. Breadcrumbs do not brown beautifully by wishful thinking alone. Oil helps conduct heat across the crust and encourages the surface to fry gently in the oven. You do not need to drench the tenders. A light, even coating is enough to improve color and texture.
The Three-Layer Coating Works Like Culinary Glue
The classic coating system has three jobs. The dry first layer helps absorb surface moisture and gives the wet layer something to grip. The egg-based middle layer acts as the adhesive. The Parmesan and crumb mixture provides structure, flavor, and crunch.
Press the coating firmly onto the chicken. Do not merely toss the tenders through it and hope for the best. A gentle press creates more contact between the wet layer and the crumbs, which helps the crust stay attached as the chicken expands and cooks.
Panko gives the coating a lighter, more irregular crunch than fine breadcrumbs. Its larger flakes create little pockets and ridges that catch heat and become crisp. Parmesan adds salt, umami, fat, and proteins that brown quickly. Together, they produce a crust with more personality than plain crumbs.
Watch the Parmesan, though. It contains less water than the chicken and can brown quickly. That is useful, but it means the oven should be hot rather than merely warm. If the coating turns dark before the chicken is cooked, loosely cover the tenders with foil and continue until the center is safe.
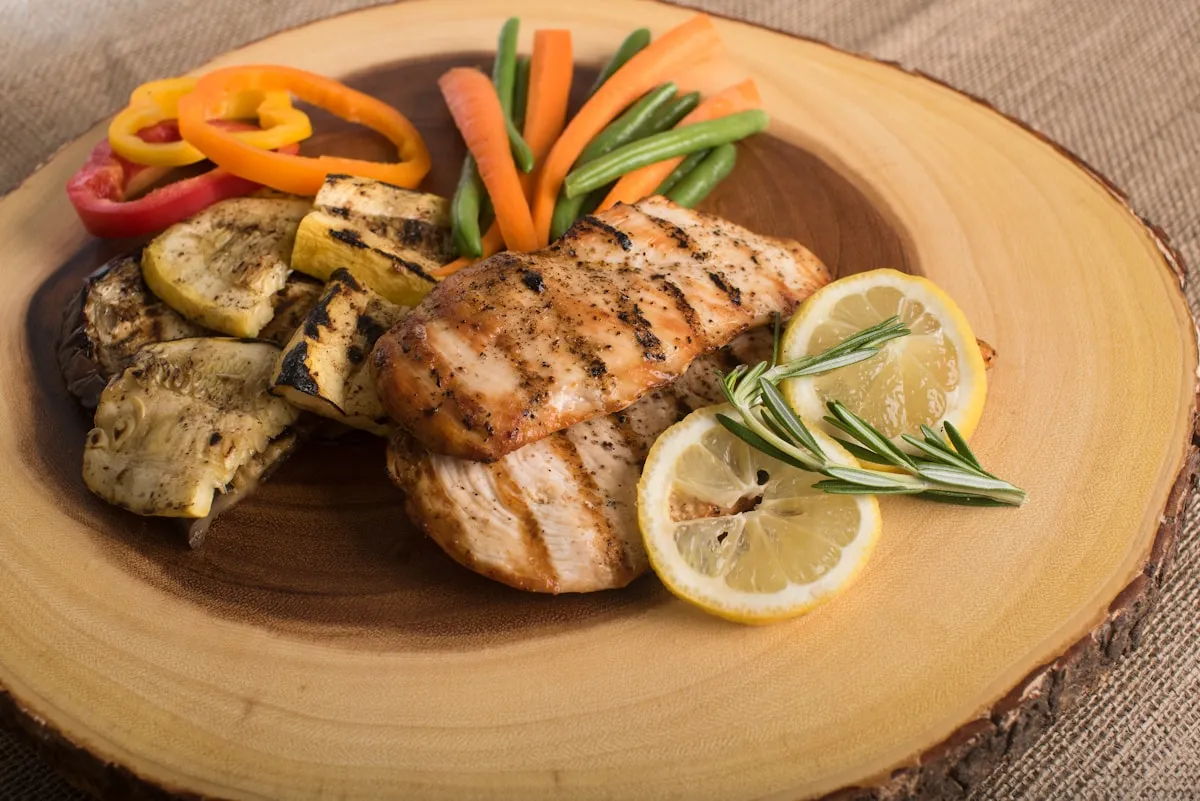
Juicy Chicken Depends on Temperature, Not Guesswork
Chicken tenders are lean, so they have a narrow window between perfectly juicy and disappointingly dry. Thickness changes the cooking time, which is why I trust a thermometer more than a timer.
Check the thickest part of the largest tender. The USDA recommends that poultry reach 165°F (74°C) for safety. Use the USDA’s poultry safety guidance as your reference, especially when cooking for children, older adults, or anyone with a weakened immune system.
Start checking early because small pieces can finish quickly. Color alone will not tell you enough. A golden crust can hide undercooked chicken, while a pale crust can sit on meat that is already safely cooked. Let the thermometer make the decision.
Rest the tenders for a few minutes after baking. This is not a decorative pause for food photographers. Heat continues moving through the chicken after it leaves the oven, and the juices need a moment to settle. Resting also lets steam escape from the crust. Place the tenders on a rack rather than a flat plate if you want to protect their crisp underside.
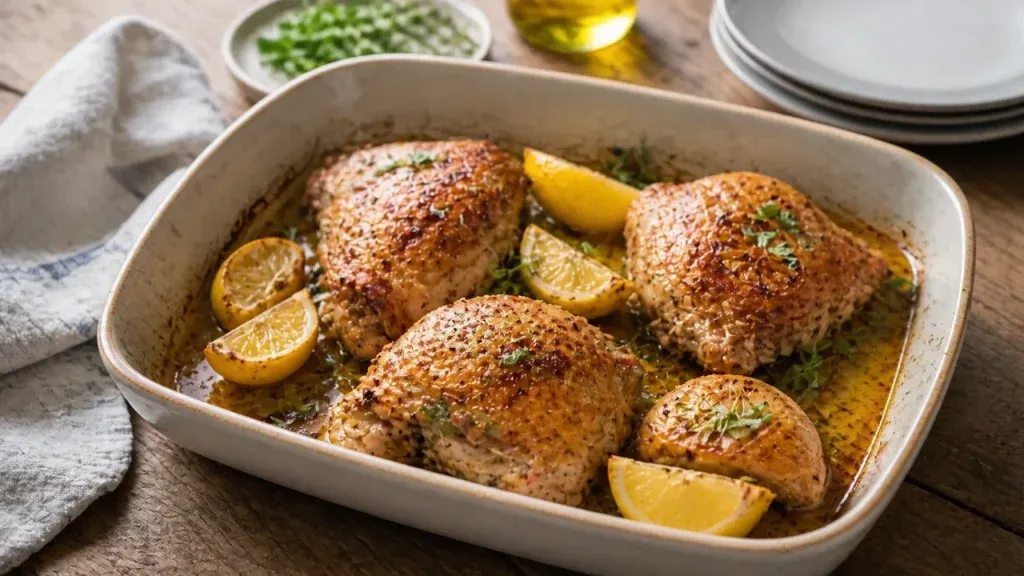
For more chicken inspiration, browse Cookpedia’s chicken recipe collection or compare this method with our simple lemon herb roasted chicken. The cuts are different, but the same rules keep appearing: dry surfaces brown better, high heat builds flavor, and a thermometer beats guesswork.
Variations: Change the Flavor, Keep the Physics
Keep the coating method steady and change the flavor profile around it. That gives you variety without gambling with the texture.
Go smoky. Add smoked paprika and a little cumin to the seasoning. The paprika deepens the crust’s color and adds gentle sweetness, while cumin brings warm, earthy notes. Serve this version with something acidic or fresh so the flavor does not become too heavy.
Make it lemon-herb bright. Add lemon zest and dried herbs to the coating, then finish the cooked tenders with a squeeze of lemon. The zest perfumes the crust, while the juice cuts through the Parmesan’s richness. Use restraint with the juice at the table; too much can soften the coating.
Turn up the garlic. Garlic powder gives even flavor throughout the crust, while fresh garlic in a dipping sauce delivers sharper contrast. Avoid putting too much fresh garlic directly into the coating, where it can burn before the chicken finishes.
Try a low-carb version. Replace traditional crumbs with finely crushed pork rinds or a suitable low-carb alternative. The texture will be slightly different, but the same principles still apply: dry the chicken, coat it well, leave space around each piece, and cook to temperature.
Use the air fryer. For a smaller batch, fast-moving convection heat can make the crust especially crisp. It is a useful option when you are collecting air fryer recipes dinner ideas, but avoid overcrowding the basket. Airflow is the whole reason the method works.
Side Dish Pairings: Add Contrast, Not More Heaviness
Parmesan-crusted chicken already brings salt, fat, protein, and crunch. Build the rest of the plate around contrast.
A peppery arugula salad is an excellent partner. Its bitterness and bright dressing cut through the richness of the crust. Try Cookpedia’s zesty arugula salad when you want something fresh and fast.
Roasted vegetables work well because their caramelized edges echo the browned coating. Choose broccoli, carrots, green beans, or cauliflower, and finish them with lemon or vinegar rather than another creamy sauce. That small hit of acidity keeps the meal lively.
For especially hungry evenings, add a modest starch such as rice, potatoes, or pasta. Cookpedia’s quick meals collection has plenty of weeknight-friendly ideas. Keep the starch simply seasoned. The chicken already has plenty to say.
FAQ: Troubleshooting Your Chicken Tenders
What if the coating falls off?
Usually, the chicken surface was too wet or the coating was not pressed on firmly enough. Pat the chicken dry before coating, and let excess wet mixture drip away before moving into the crumbs. Press the final coating onto every side, then avoid moving the tenders until the crust has set.
What if the chicken is cooked but the crust is pale?
The coating probably needs more direct heat or a little more oil. Confirm that the oven was fully preheated, use a rack for better airflow, and lightly brush or spray the coating. If the chicken has already reached 165°F, do not keep baking it just to chase color. Finish the crust briefly under the broiler while watching closely.
What if the crust browns too quickly?
Lower the rack slightly or loosely cover the tenders with foil. Parmesan can brown faster than the chicken cooks because its surface is dry and protein-rich. Do not wrap the pieces tightly; trapped steam will soften the crust.
Can I use frozen chicken tenders?
Thaw them fully in the refrigerator first. Frozen chicken releases extra water as it cooks, which makes the coating steam instead of crisp. Thawing also helps the pieces cook more evenly. Never thaw poultry on the counter.
Why are my tenders dry?
They probably cooked past their ideal temperature, were unusually thin, or rested too long in the hot pan. Check early with an instant-read thermometer and transfer cooked tenders to a rack. A hot oven shortens the cooking window, so stay nearby near the end.
Can I prepare them ahead?
Yes. Coat the chicken shortly before baking, or refrigerate the prepared tenders briefly on a rack. Keep them cold until they go into the oven. Avoid letting coated chicken sit for hours, because moisture from the meat will gradually soak into the crumbs and weaken the crust.
How should I reheat leftovers?
Use the oven, toaster oven, or air fryer rather than the microwave. Dry circulating heat restores some crispness, while microwave steam softens the coating. Reheat until hot throughout, but stop as soon as the chicken is warmed so it does not dry out.
Are these tenders a healthy dinner?
They can fit comfortably into healthy dinner ideas when you balance the plate with vegetables, salad, and a sensible portion of starch. Baking reduces the need for a deep layer of frying oil, but Parmesan and breadcrumbs still contribute calories and sodium. “Baked” does not mean unlimited. It means delicious with a lighter cooking approach.
How can I serve them to picky eaters?
Keep the seasoning familiar and offer sauces separately. A simple yogurt dip, marinara, or honey-mustard sauce lets everyone choose the level of excitement. Add a crunchy vegetable or fruit on the side rather than hiding everything in the coating. These tenders are already excellent candidates for quick family meals because they are easy to portion and easy to eat.
Can I double the recipe?
Yes, but use two baking sheets if needed. Crowding is the fastest route to steamed coating. Rotate the pans if your oven has hot spots, and check the thickest pieces individually. More chicken means more variation in size, not a guaranteed doubling of cooking time.
Serve these tenders with a sharp salad, a squeeze of lemon, and the confidence that comes from understanding your oven. Crisp crust, juicy chicken, minimal fuss( that is exactly what good home cooking should deliver.)