Recipe
Servings
Servings 1×
Ingredients
- The main ingredients named in the article
- Cooking oil
- Salt and black pepper
Method
- Prepare the ingredients described in the article and heat the cooking surface or oven as directed.
- Cook the main ingredients using the heat and timing guidance in the article.
- Finish with the seasonings and garnishes named in the article, then serve.
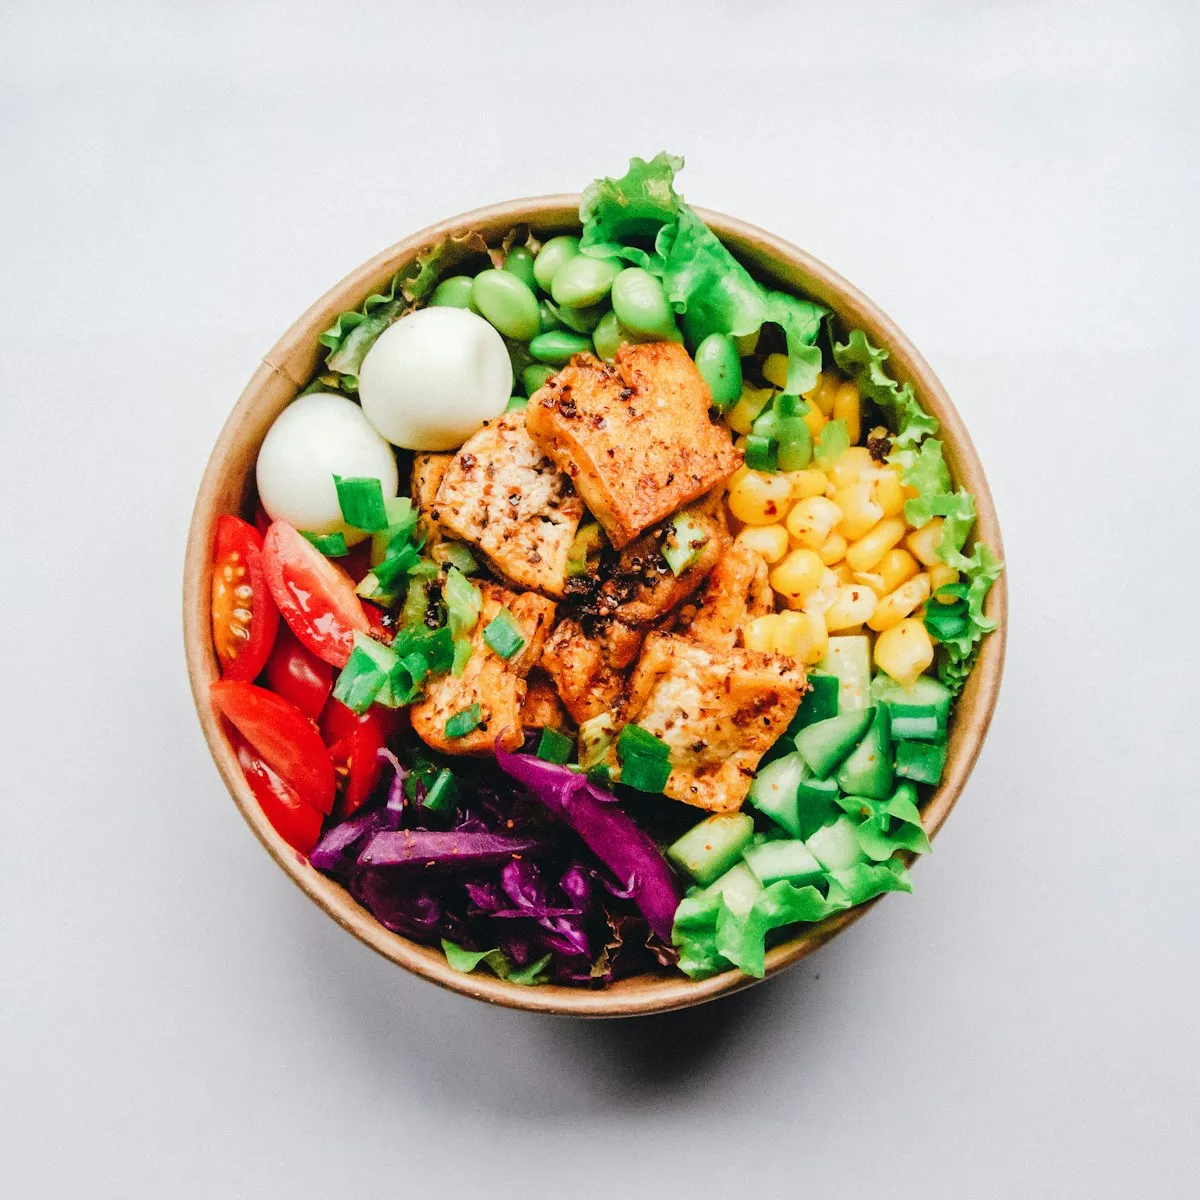
You have been there: you pack a beautiful sandwich for a day at the park, only to unwrap a soggy, falling-apart mess three hours later. It is a tragedy of bread and moisture that we are going to end today. If you want to claim the title of picnic royalty, you need to master the art of the pressed Italian sandwich. This isn't just a meal; it is an engineered marvel of cured meats, sharp cheeses, and vinegary brightness that actually gets better the longer it sits in your cooler.
While many of you rely on quick family meals that take twenty minutes from stovetop to table, this sandwich asks for a little more patience but rewards you with a flavor profile that no "instant" meal can touch. It is the king of the summer picnic series for a reason.
The Science of the Press: Engineering a Better Bite
The magic of a pressed sandwich lies in two scientific principles: capillary action and structural integrity. When you apply five to ten pounds of weight to a sandwich overnight, you aren't just squishing it; you are forcing the oils and vinegars to migrate into the bread fibers while simultaneously welding the meat and cheese into a singular, cohesive unit. This creates a "one-hand" eating experience where nothing slides out the back of the roll when you take a bite.
Hollow Out Your Foundation
Stop using soft, pre-sliced sandwich bread. You need a sturdy ciabatta or a round Italian boule. Here is the non-negotiable tip: cut the loaf in half and scoop out about half of the fluffy interior crumb. This creates a "boat" for your fillings. Without this step, your sandwich will be a bulky, unmanageable mountain that refuses to compress. By hollowing it out, you ensure the meat-to-bread ratio remains elite even after pressing.
Build Your Moisture Barrier
Sogginess is the enemy of any picnic. To fight it, you must layer strategically. Use your fattiest meats: like Genoa salami or capicola: as the first layer against the bread. Fat is hydrophobic; it repels water. By placing these cured meats directly against the crust, you create a waterproof barrier that prevents the vinegar from the peppers or the moisture from the greens from turning your bread into a sponge.
The Weight of Success
Once your masterpiece is assembled and tightly wrapped in plastic, you must apply pressure. Place it on a baking sheet and top it with another flat surface (like a cutting board). Then, find the heaviest thing in your kitchen. A cast-iron skillet or a couple of heavy cans of tomatoes will do the trick. Aim for at least 8 hours of refrigeration under this weight. This marination-under-pressure allows the herbs and acids to penetrate every fiber of the meat.
Variations for Every Palate
While the classic trio of salami, mortadella, and ham is a gold standard, you can adapt this technique to suit any dietary goal. If you are constantly looking for healthy dinner ideas, you can lean heavily into the vegetable-forward version of this sandwich.
- The Garden Press: Replace the cured meats with thick layers of grilled eggplant, zucchini, and massive amounts of roasted red peppers. Use a thick layer of hummus or olive tapenade as your "glue."
- The Spicy Kick: Swap the mild provolone for a sharp Provolone Piccante and add a generous layer of hot giardiniera. The vinegar in the pickled vegetables will cut right through the richness of the meats.
- The Lean Italian: For those who want the flavor without the heavy calorie load of salami, use thin-shaved smoked turkey and prosciutto. Prosciutto provides that intense saltiness you need, meaning you can use less meat overall while maintaining the "Italian" soul of the dish.
Side Dish Pairings that Pop
A sandwich this heavy and savory needs a partner that can provide balance. You want acidity, crunch, and brightness to reset your palate between bites. Avoid creamy, heavy sides like traditional macaroni salad; they compete with the richness of the meats.
Instead, go for something like our Arugula Power Salad. The peppery bite of arugula and the hit of lemon juice cut right through the fat of the mortadella. Another great option is a simple cucumber and red onion salad dressed in red wine vinegar.
If you are craving something warm to go alongside your chilled sandwich, consider a quick batch of veggie chips. Many fans of air fryer recipes dinner enthusiasts love how a quick air-fryer kale or beet chip provides that salty crunch without the grease of a potato chip.
FAQ: Solving the Pressed Sandwich Puzzle
What if I don't have a cast-iron skillet to press it?
Do not panic. Use a heavy Dutch oven, a stack of heavy cookbooks (wrap the sandwich well!), or even a clean brick wrapped in foil. The goal is even, consistent pressure, not a specific tool. As long as you have roughly 5-10 pounds of weight distributed across the loaf, you are in business.
Why does my bread still get soggy after 12 hours?
Check your vegetables. Roasted peppers, artichoke hearts, and olives are notorious for holding onto brine. You must pat these ingredients dry with paper towels until they are nearly bone-dry before they go into the sandwich. Also, ensure your "fat barrier" of meat and cheese is a solid, overlapping layer with no gaps for moisture to leak through to the bread.
Can I make this with gluten-free bread?
You can, but you must be careful. Most gluten-free breads lack the structural elasticity of wheat-based ciabatta. Look for a "rustic" style gluten-free loaf and avoid hollowing it out too much, as it might crumble. Keep the pressing time to about 4 hours instead of overnight to prevent the bread from becoming too dense.
Is it safe to eat if it’s been out of the fridge for a few hours?
Since this sandwich relies heavily on cured meats (which are preserved with salt) and acidic components (like vinegar and peppers), it is more stable than a turkey-and-mayo sandwich. However, always transport it in a chilled cooler. The sandwich is best served cold or at a very slight room temperature. If it feels warm to the touch, play it safe and skip it.
Do I have to use a whole loaf?
While a whole loaf is best for the "picnic share" vibe, you can use individual ciabatta rolls. The technique remains exactly the same: hollow, layer, wrap, and weight. It’s a great way to prep lunches for a busy work week.
{“@type”:”BlogPosting”,”image”:”https://cdn.marblism.com/images/a5e7b2c1/hero.webp”,”author”:{“name”:”Cookpedia”,”@type”:”Organization”},”@context”:”https://schema.org”,”headline”:”The Ultimate Pressed Italian Sandwich: One of the Best Picnic Sandwiches”,”keywords”:”air fryer recipes dinner, quick family meals, healthy dinner ideas, picnic sandwiches, pressed sandwich”,”publisher”:{“logo”:{“url”:”https://cookpedia.com/logo.png”,”@type”:”ImageObject”},”name”:”Cookpedia”,”@type”:”Organization”},”description”:”Learn the science and technique behind the ultimate pressed Italian sandwich, the perfect addition to your summer picnic series.”,”datePublished”:”2026-05-19″,”articleSection”:”Cooking Tips”,”mainEntityOfPage”:{“@id”:”https://cookpedia.com/ultimate-pressed-italian-sandwich”,”@type”:”WebPage”}}