Recipe
Servings
4 servings 1×
Serves 4Prep 10 minCook 20 minTotal 30 min
Ingredients
- 6 boneless, skinless chicken thighs
- 1 tablespoon olive oil
- 3 tablespoons butter, divided
- 4 garlic cloves, minced
- 1 pound green beans, trimmed
- 1/2 cup low-sodium chicken broth or water
- 1 tablespoon lemon juice
- 1 tablespoon chopped fresh parsley
- Salt and black pepper, to taste
Method
- Pat the chicken dry and season with salt and pepper. Heat the olive oil and one tablespoon butter in a large skillet over medium-high heat.
- Sear the chicken thighs in a single layer until browned on both sides and nearly cooked through, about 5–6 minutes per side. Transfer them to a plate.
- Add the remaining butter and garlic to the pan. Cook briefly until fragrant, then add the green beans and broth.
- Cover and simmer the beans for 5–7 minutes, until bright green and crisp-tender. Scrape up the browned bits as they cook.
- Return the chicken to the skillet and cook gently until it reaches 165°F (74°C). Finish with lemon juice and parsley, then serve.
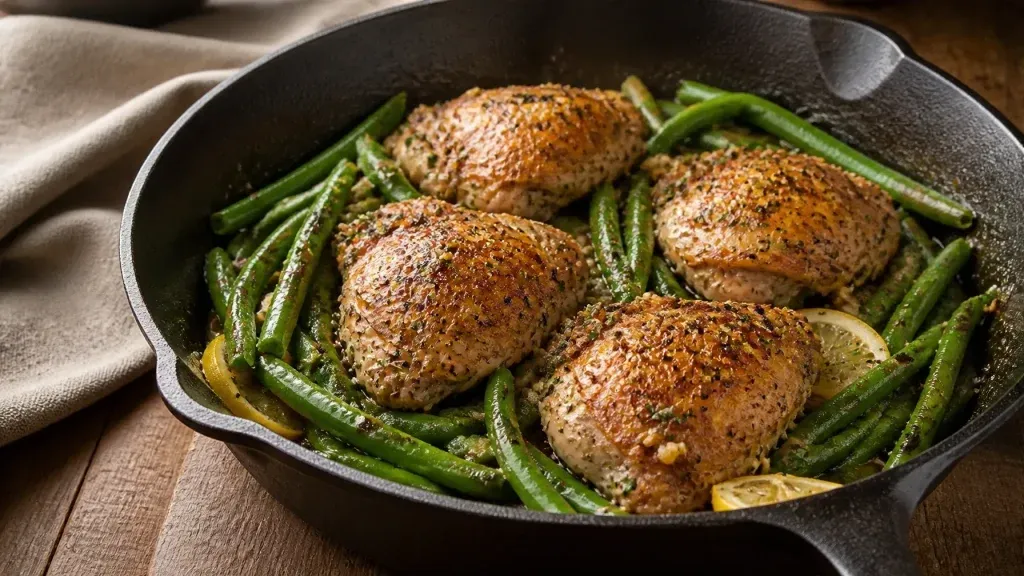
If you are new to keto cooking, start with a dinner that does not require a spreadsheet, specialist flour, or seventeen tiny jars of seasoning. These garlic butter chicken thighs with green beans deliver crisp skin, tender meat, rich pan sauce, and a bright vegetable side in one skillet. I love this recipe because it teaches the basics of keto cooking while still feeling like proper comfort food, not sad chicken wearing a low-carb disguise.
Tips & Technique: Make the Pan Do the Hard Work
Dry chicken means crisp chicken
Pat the chicken thighs dry before they meet the pan. This is not fussy chef behavior; it is basic surface chemistry. Water on the skin must evaporate before browning can begin, and evaporation steals heat from the pan. A damp thigh will steam first, leaving you with pale, rubbery skin and a general sense of betrayal.
Dry the skin thoroughly, then season it evenly. Give the chicken a few minutes at room temperature while you prepare the pan, but do not leave raw poultry sitting out for an extended time. Keep the work area clean and wash your hands after handling it.
Start with the skin side down
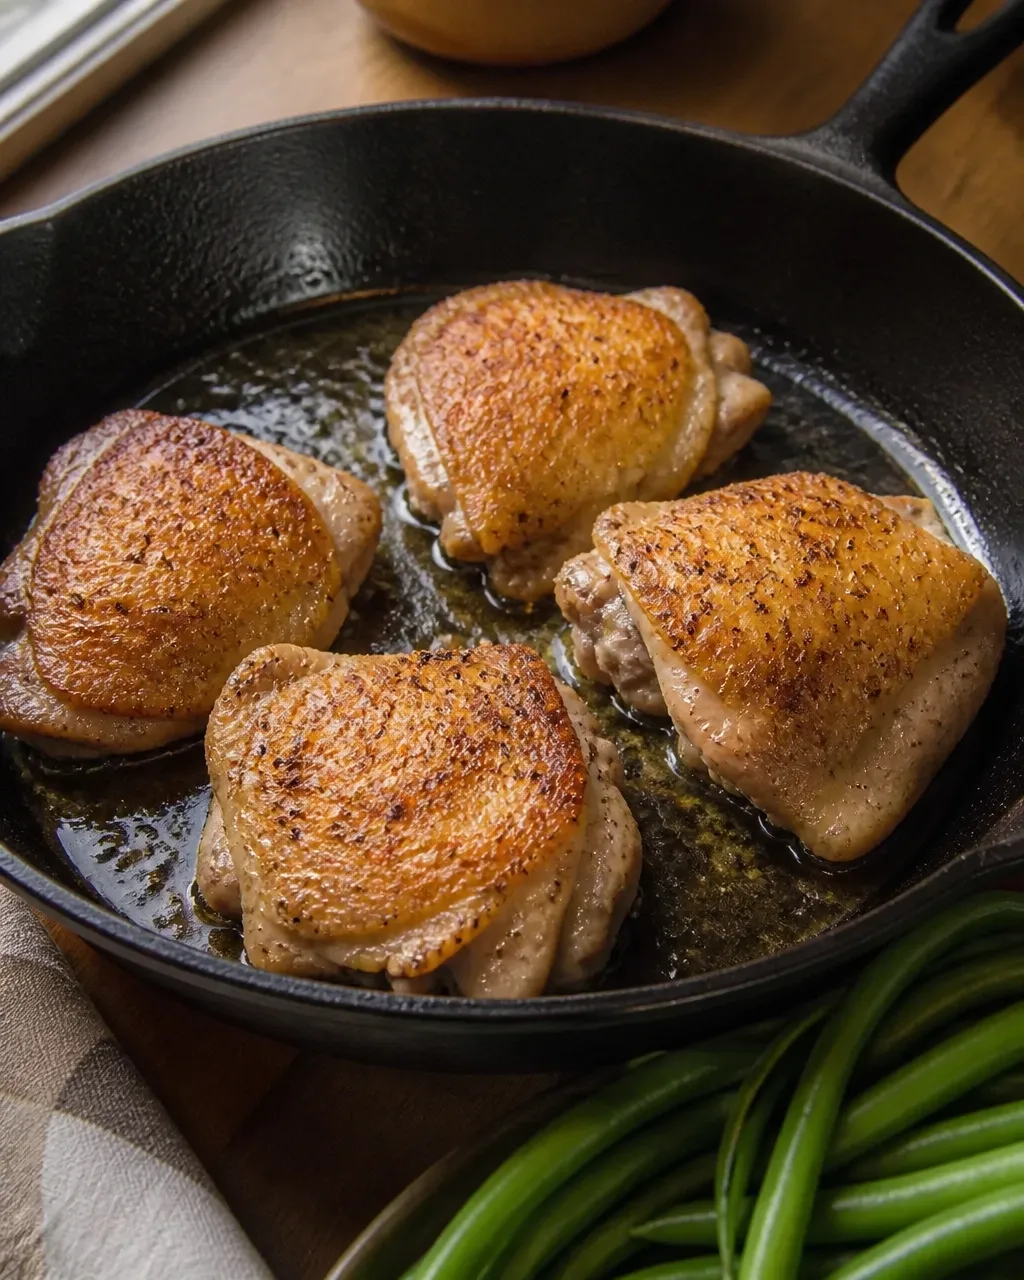
Use a heavy skillet and heat it properly before adding the chicken. Begin with the skin side down so the fat beneath the skin can slowly render into the pan. That rendered fat helps fry the skin, deepen the color, and create the savory base for the sauce.
Avoid moving the thighs around while they sear. The skin needs steady contact with the hot surface to brown. If it sticks, wait another minute or two. Properly browned skin usually releases more easily once the crust has formed.
The browning comes largely from the Maillard reaction, a series of chemical changes between proteins and sugars that creates the nutty, roasted flavors we associate with seared meat. It is one of the reasons a simple chicken dinner can taste far more exciting than its ingredient list suggests.
Add butter after the high-heat work
Butter brings wonderful flavor, but its milk solids can burn when exposed to aggressive heat for too long. Use a little oil to support the initial sear, then lower the heat before adding the butter. This protects the milk solids and gives you a smoother, more fragrant sauce.
Add the garlic once the pan has cooled slightly. Garlic contains delicate aromatic compounds that turn bitter when scorched. Cook it briefly in the melted butter until it smells sweet and savory, not dark and sharp. If the garlic starts turning brown immediately, lower the heat. You are making dinner, not charcoal perfume.
Baste for flavor and moisture
Spoon the garlic butter over the chicken as it finishes cooking. Basting coats the browned skin and carries garlic, herbs, and pan juices across the surface. It also helps distribute heat, although it does not replace thorough cooking.
Do not rely on clear juices or a particular color to judge doneness. Insert a meat thermometer into the thickest part of each thigh, avoiding the bone. The chicken must reach at least 165°F (74°C) for food safety. Dark meat often has an even more tender texture around 170°F, thanks to the breakdown of connective tissue, but check every piece rather than guessing.
For more chicken technique, compare this method with Cookpedia’s Simple Lemon Herb Roasted Chicken. The seasoning changes, but the fundamentals remain wonderfully reliable: dry the surface, build color, and cook with confidence.
Finish the green beans in the flavorful pan
Green beans add freshness, gentle crunch, and fiber without bringing the starch load of potatoes, rice, or pasta. Add them to the skillet near the end, giving them enough time to become bright green and crisp-tender.
Use the browned bits on the bottom of the pan. Those bits, called fond, contain concentrated roasted flavor. A small splash of water or broth can loosen them, while butter helps carry that flavor over the beans. Keep the beans slightly firm rather than cooking them until they collapse. Contrast matters: rich chicken tastes better beside a vegetable that still has some bite.
This one-pan approach is exactly what I want from practical keto cooking. It keeps cleanup manageable and lets every component benefit from the same savory base. It also belongs comfortably beside other quick meals when you need dinner to happen without turning the kitchen into a project site.
Variations: Keep the Balance, Change the Mood
Lemon-herb garlic butter
Add lemon zest and a little juice near the end, then finish with parsley, thyme, or rosemary. Acidity cuts through butter’s richness and makes the chicken taste lighter without removing any of its comfort. Add the lemon late so its fresh flavor stays noticeable.
Creamy skillet version
Stir a small amount of full-fat cream cheese or heavy cream into the pan after the chicken is cooked. Keep the heat low and loosen the sauce gradually. High heat can cause dairy sauces to split, leaving you with an oily puddle instead of a silky coating. Check the carbohydrate count on packaged dairy products, since brands vary.
For another cozy garlic-forward idea, try Cookpedia’s Creamy Garlic Chicken with Spinach. Swap spinach for green beans when you want a softer, creamier plate.
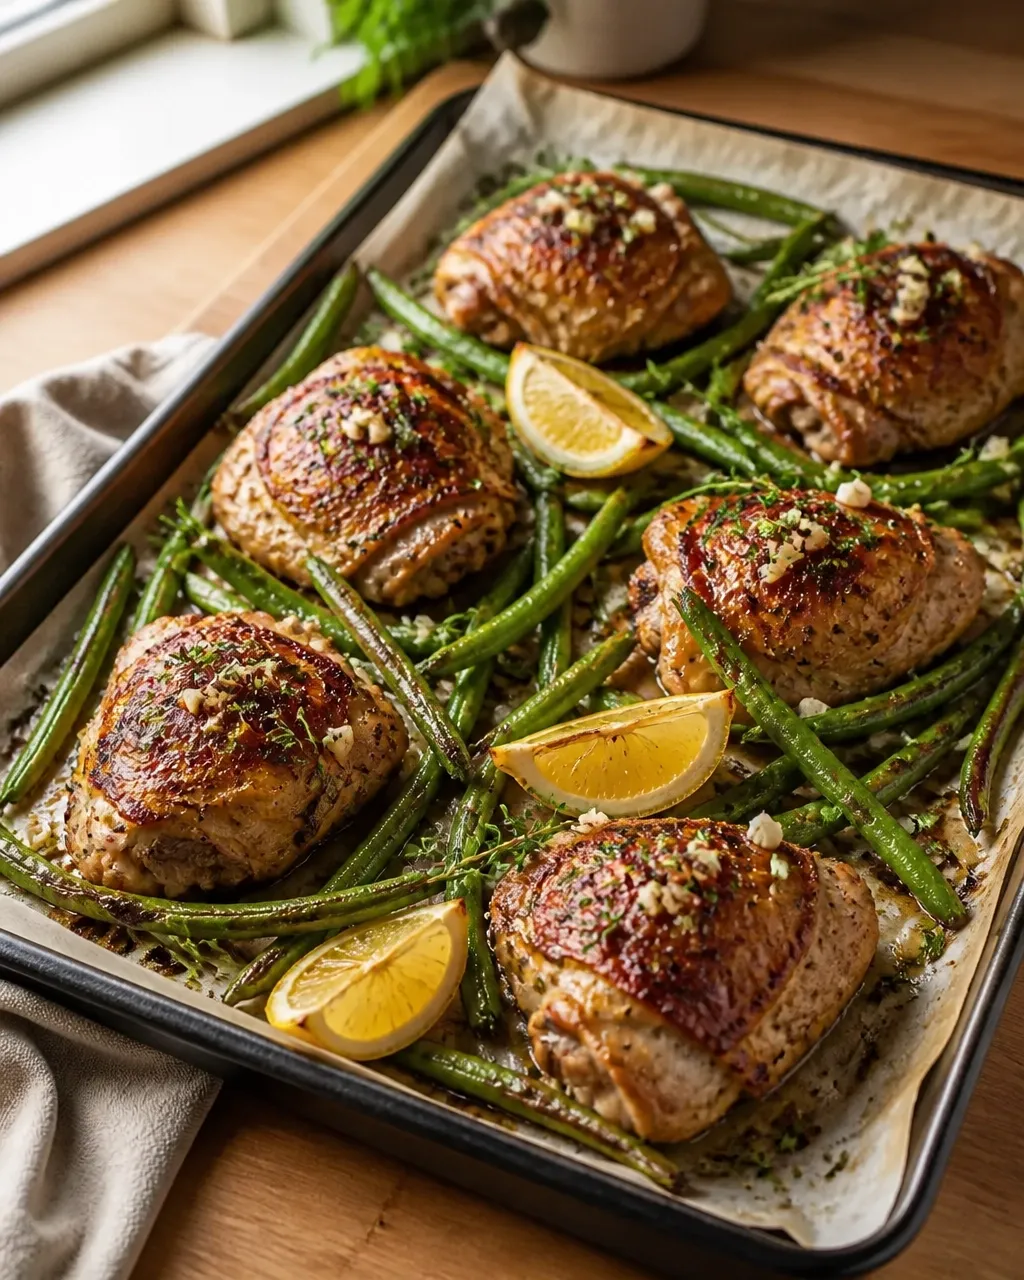
Sheet-pan version
Move the seasoned chicken and green beans to a baking tray for a lower-maintenance dinner. This method will not produce quite the same fond as a skillet, but it reduces stovetop attention and works well for a busy evening. Add the garlic butter toward the end rather than letting fresh garlic roast for the entire cooking time.
Air-fryer adaptation
Use the air fryer for the chicken when crisp skin is your top priority. Cook the green beans separately or toss them in the basket only during the final minutes so they retain texture. For more hands-off inspiration, browse Cookpedia’s Coconut Lime Chicken Air Fryer. Keep sweet sauces out of this variation if you are protecting your carb target.
Side Dish Pairings: Add Contrast, Not Competition
The chicken already supplies richness, so choose sides that bring acidity, crunch, or freshness. A sharp cucumber salad with vinegar and herbs works beautifully. Keep the dressing unsweetened, and use lemon or vinegar to cut through the butter.
Try roasted asparagus, sautéed mushrooms, or a simple leafy salad with a mustard vinaigrette. These are useful additions when you are collecting healthy dinner ideas that still feel satisfying. Avoid automatically adding cheese, bacon, and cream to every side. Keto does not mean every plate needs to become a dairy-based monument.
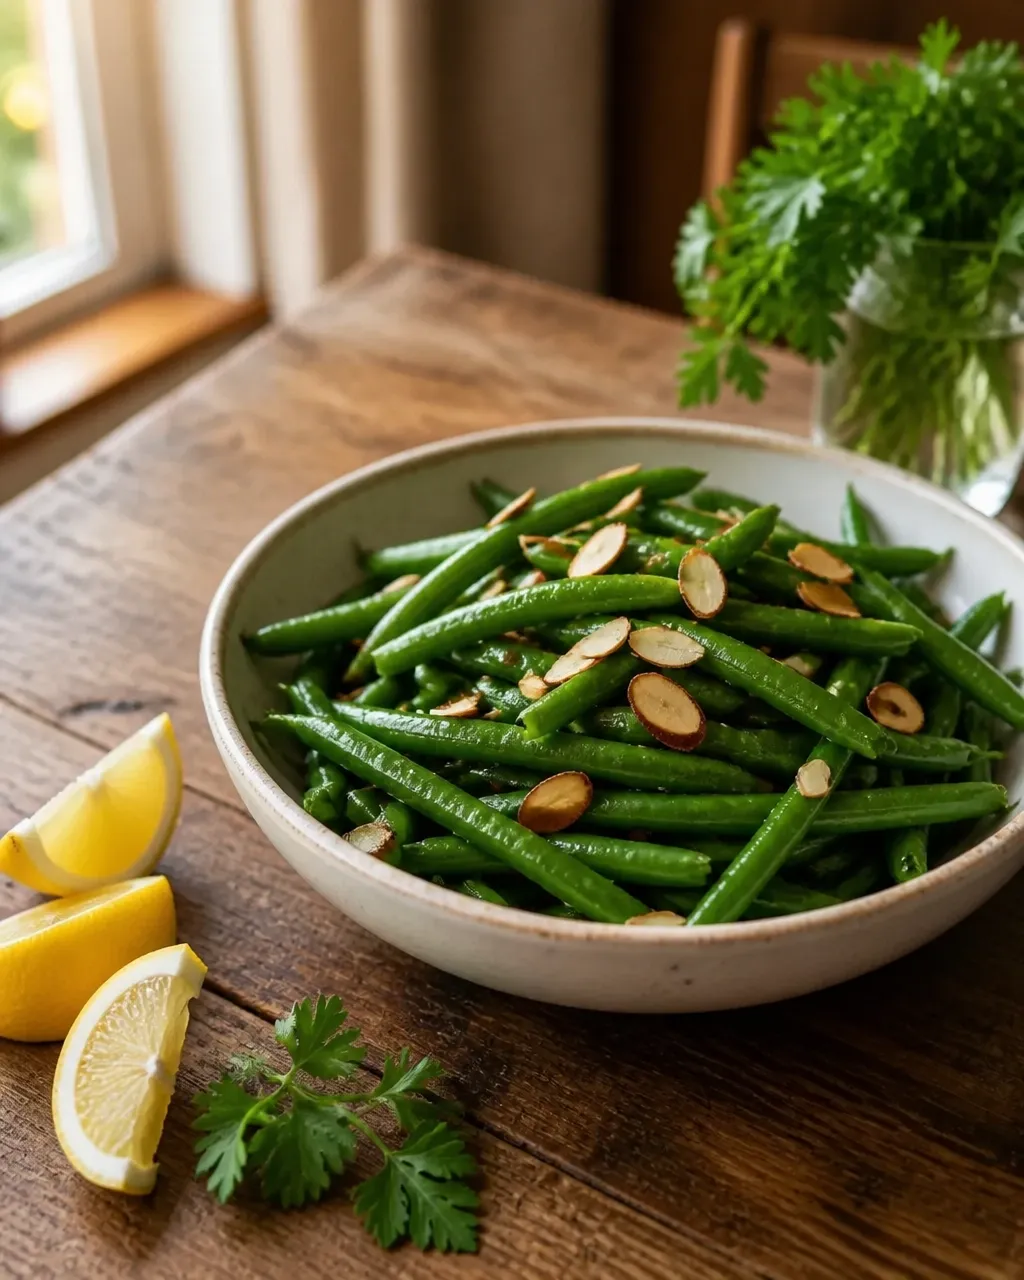
For an easy finishing side, serve lemony green beans with toasted almonds. The almonds add crunch and a little nuttiness, while the lemon keeps the meal from becoming too heavy. Portion them modestly because nuts are nutritious but energy-dense.
FAQ: What If My Chicken, Sauce, or Green Beans Go Wrong?
What if the chicken skin is not crisp?
Check whether the chicken was dry before cooking and whether the pan was hot enough. Excess moisture prevents browning, while a crowded skillet traps steam. Give the thighs more space, return them skin-side down briefly, and avoid covering the pan. A lid is useful for speeding up cooking, but it softens the skin.
What if the garlic tastes bitter?
The heat was probably too high, or the garlic stayed in the pan too long. Remove the chicken temporarily if necessary, lower the heat, and add fresh garlic only after the butter has cooled slightly. If the sauce is already bitter, do not keep adding butter and hoping for a miracle. Brighten it with lemon and use less of the sauce when serving.
What if the chicken is browned outside but raw inside?
The pan was too hot, the thighs were unusually large, or the skillet was crowded. Lower the heat and continue cooking until the thickest part reaches 165°F (74°C). If the skin is darkening too quickly, move the skillet to a lower burner or finish the chicken in a moderate oven. Always use a thermometer; color is not a dependable safety test.
What if the green beans are tough?
Freshness, size, and cooking time all matter. Very large or older beans need longer cooking, while thin beans may be ready quickly. Add a small splash of water and cover the pan briefly to create steam, then uncover it so excess moisture evaporates. Finish with butter, lemon, or pan juices to restore flavor.
Can I use boneless, skinless chicken thighs?
Yes, but expect a different result. Boneless thighs cook faster and are convenient, yet they cannot provide the same crisp skin or rendered-fat flavor. Start checking their temperature earlier, and avoid overcooking because smaller pieces lose moisture more quickly. Use the same garlic butter technique, but reduce the cooking time according to size.
Are green beans keto-friendly?
Green beans can fit many keto meal plans because they are lower in carbohydrates than starchy vegetables, but they are not carb-free. Your total serving size, personal carbohydrate limit, and the rest of the meal matter. Avoid sugary sauces and check labels on seasoning blends, broth, and prepared butter sauces. If you follow keto for a medical reason, confirm your targets with a qualified healthcare professional.
Can I store and reheat leftovers?
Refrigerate leftovers promptly in a sealed container and use them within a few days. Reheat gently so the chicken stays tender. An oven or air fryer can help revive the skin better than a microwave, although the original crispness may not fully return. Store the green beans separately when possible, since they can release moisture into the sauce.
This recipe is a dependable starting point for beginners: brown the chicken, protect the garlic, use the fond, cook to temperature, and balance richness with something bright. Master those non-negotiables, and many other simple keto dinners become much easier to handle: including plenty of genuinely quick family meals.